|
Building my own Computer Step 3, Assemble the Computer Parts If you have questions or comments about this, post them on the Message Board under Building a New Computer I'm Building a New Computer and will post the process step by step as I put it all together. Starting 2/5/2003 2/15/2003 Ok have all the Parts ! |
|
Putting it all together, this is fun ! |
| 6. Ok Memory, Processor and Heatsink are installed next I install the Mobo into the Case. Again ground yourself, when you slid the Mobo in, you have to get the connector assemblies under some metal tabs and position it over the standoffs. Line one of the holes over a standoff and put in a screw, I do not tighten any of the screws until I have them all in, then I go around and screw them in tight. OK Mobo is in and connectors line up correctly. | 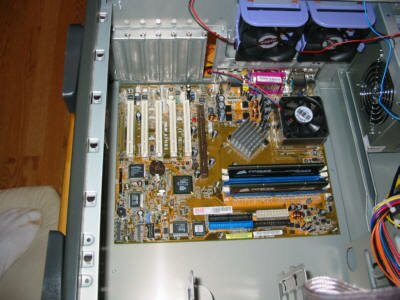 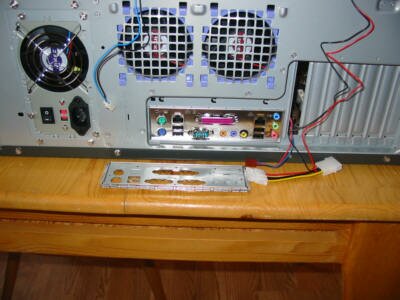 |
| 7. Next can be time consuming, plugging all the wires and any adapters on the Mobo, once those are all plugged in right, I start installing all the drives. Looks like a tangled mess, doesn't it. Again you have to follow the Case and Mobo Manuals on where these wires go on the Mobo, this is where I use the flashlight to read all the fine print on the Mobo. Make sure you get everything plugged in, especially the Fans and the Fan on the Heatsink. | 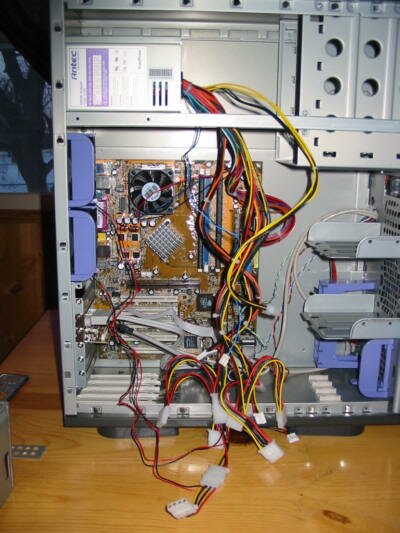 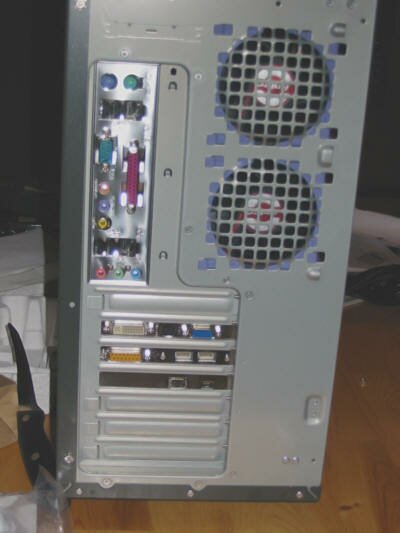 |
| 8. Next I install the Graphics card, CD-RW, Floppy Drive and lastly the Harddrives, I am installing two drives so one will be the Master and one will be the Slave drive. I use the Cable Select Jumper Setting, with the appropriate cable. What this does is,s the Mobo determines what is the Master and what is the Slave, by the position of the drives on the cable. The Master will be, as with the Master-Slave Jumper settings, the first drive on the cable, the slave will be the second drive on the cable. If I had two CD-ROMS it would be the same, the RW would be the Master and the CD-ROM would be the Slave. Next I connect all the IDE cables to the Mobo and the Drives, then all of the Power cables. Jumper Setting are usually always diagrammed on top of the drives or in the Manuals, with these I had no Manuals, because they were OEM, ( Original Equipment Manufacture ). | 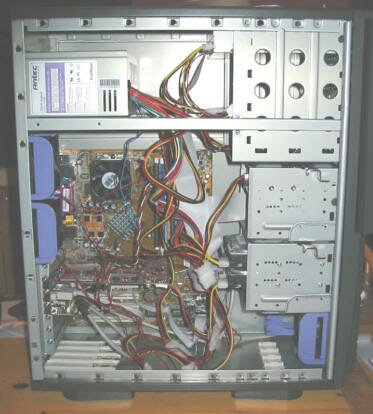  |